
Slide 01Enlarge slide ↗
Read slide 1 text
EDR field training
Module 2
Field Training (EDR Technician) - How to retrieve EDR Data
EDR certification
Slide 02Enlarge slide ↗
Read slide 2 text
Module overview
OVERVIEW
✓ Getting Setup: Software / Hardware ✓ Performing a Vehicle Scan ✓ Troubleshooting ✓ Backup: Module Removal
EDR certification
Slide 03Enlarge slide ↗
Read slide 3 text
Module overview
OVERVIEW
Getting Setup: Software / Hardware ✓
Performing a Vehicle Scan ✓
Troubleshooting ✓
Backup: Module Removal ✓
EDR certification
Slide 04Enlarge slide ↗
Read slide 4 text
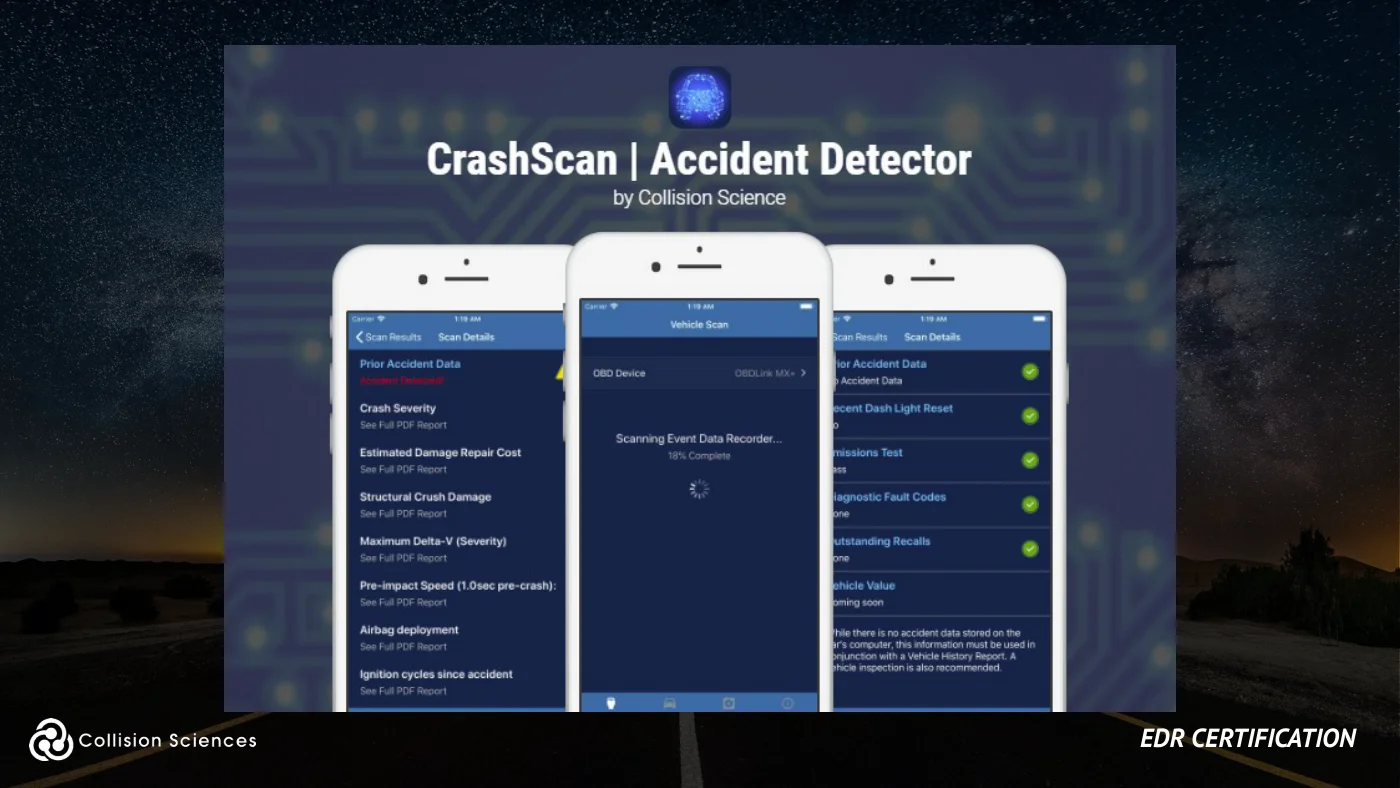
Innovative technology & information intelligence
EDR certification
Slide 05Enlarge slide ↗
Read slide 5 text
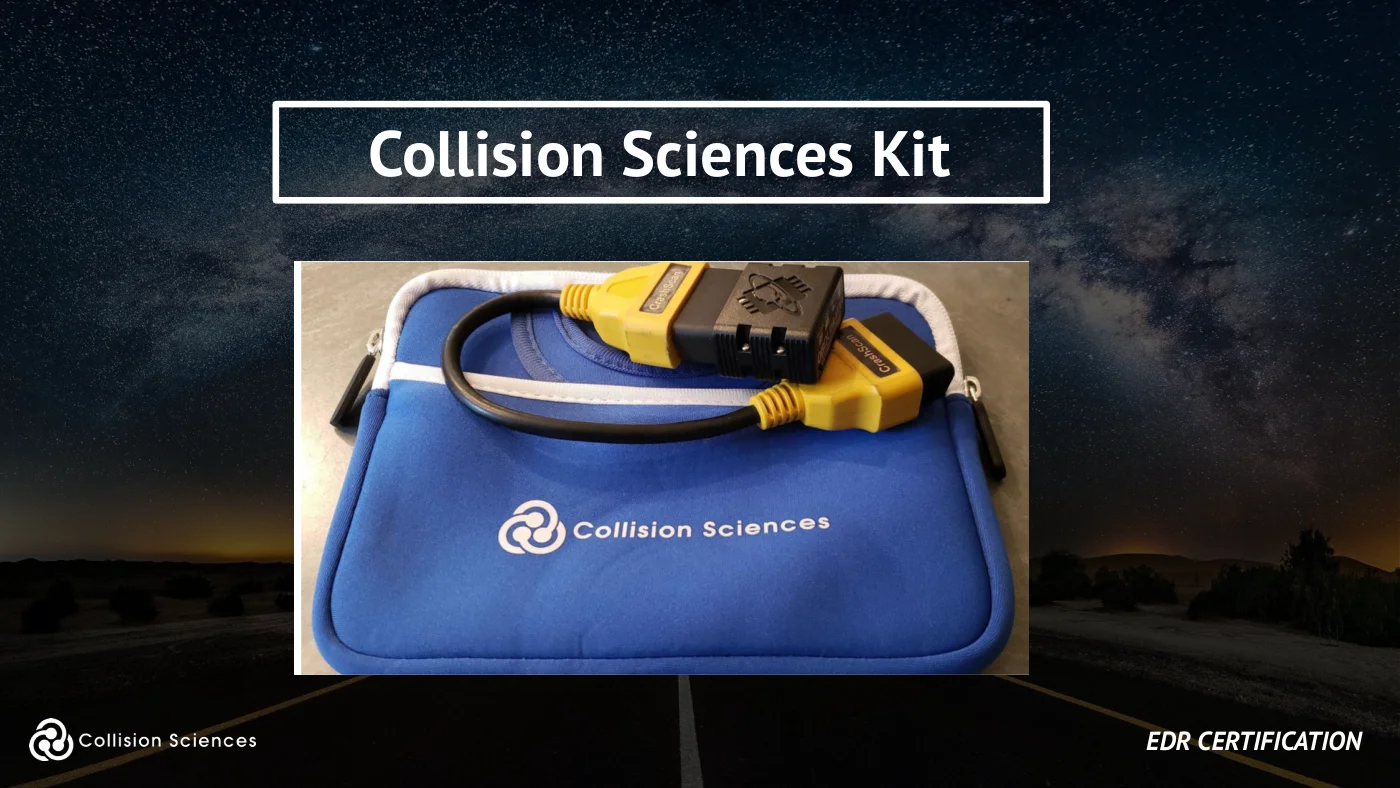
Collision Sciences kit
EDR certification
Slide 06Enlarge slide ↗
Read slide 6 text
Device requirements
The EDR Kit requires the user to use their own “internet connected” device for use with the CrashScan “mobile application”.
Device Options:
A. Use a work Mobile Device (iOS or Android), OR
B. Use a work Tablet Device
- must tether internet using your mobile hotspot.
EDR certification
Slide 07Enlarge slide ↗
Read slide 7 text
Field technician setup
Setup Time: approximately 5 minutes at your car
Step 1:Download CrashScan Mobile App to device Step 2.Login to App (credentials provided via email) Step 3.Bring EDR Kit to car and plug-in under dash Step 4.Pair OBDLink to device (via Bluetooth)
Done! You are ready to scan!
EDR certification
Slide 08Enlarge slide ↗
Read slide 8 text
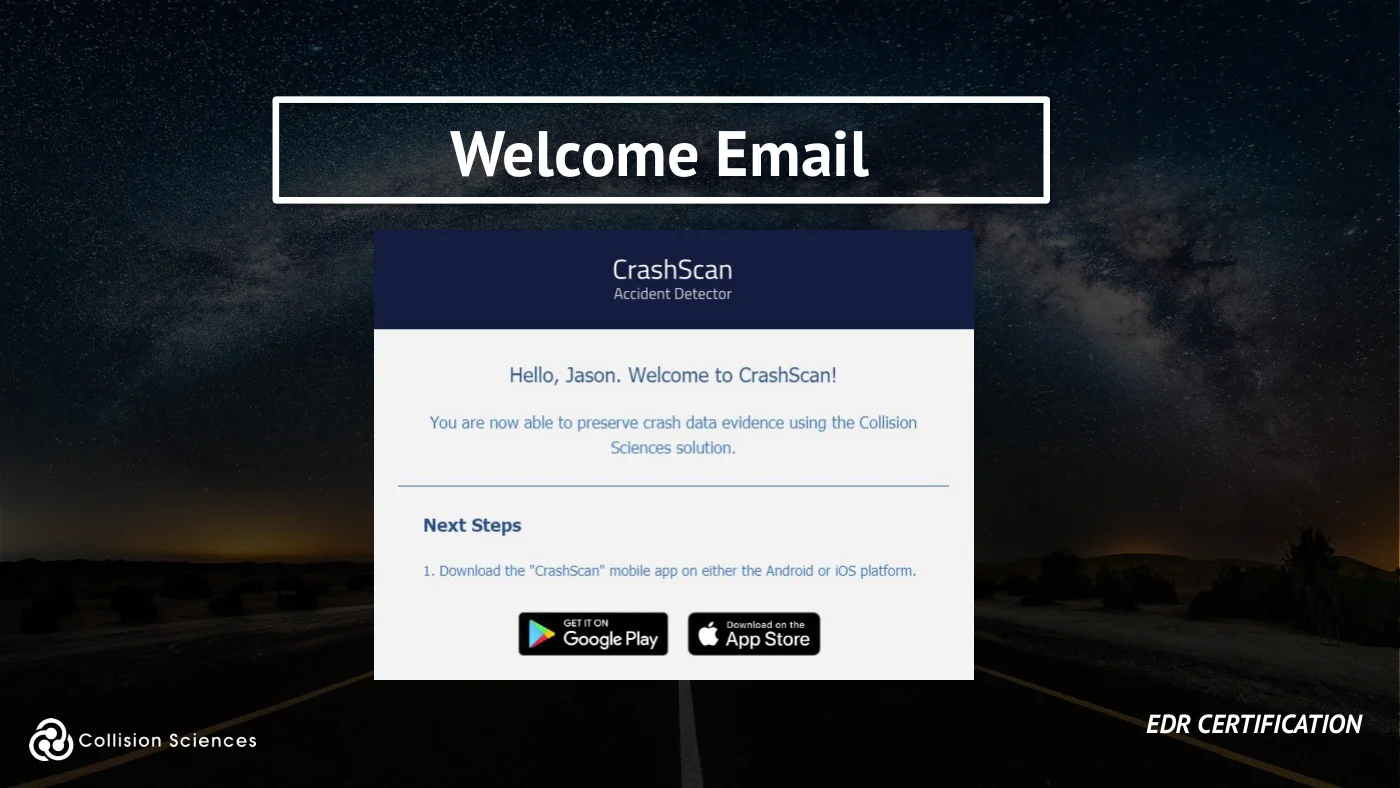
Welcome email
EDR certification
Slide 09Enlarge slide ↗
Read slide 9 text
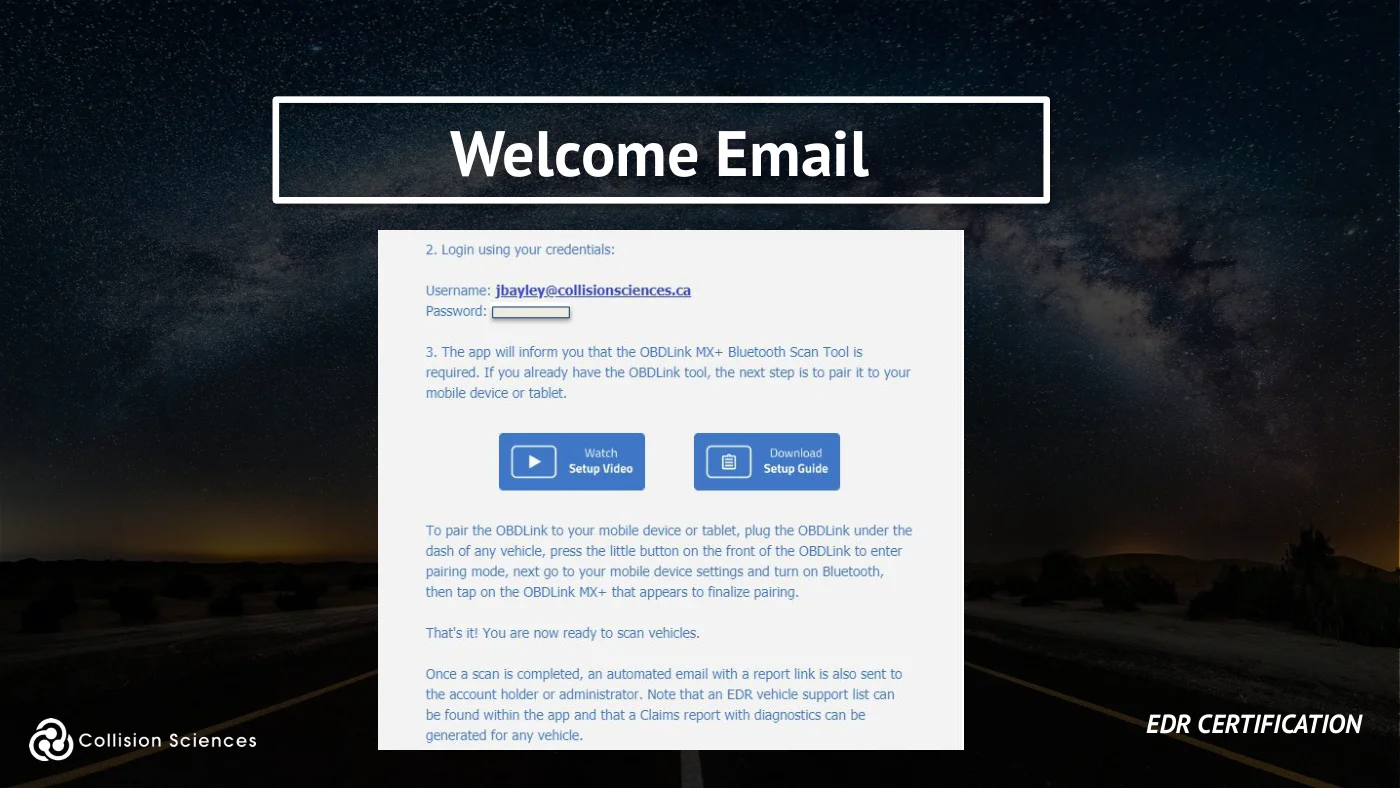
Welcome email
EDR certification
Slide 10Enlarge slide ↗
Read slide 10 text
Module overview
OVERVIEW
Getting Setup: Software / Hardware ✓
Performing a Vehicle Scan ✓
Troubleshooting ✓
Backup: Module Removal ✓
EDR certification
Slide 11Enlarge slide ↗
Read slide 11 text
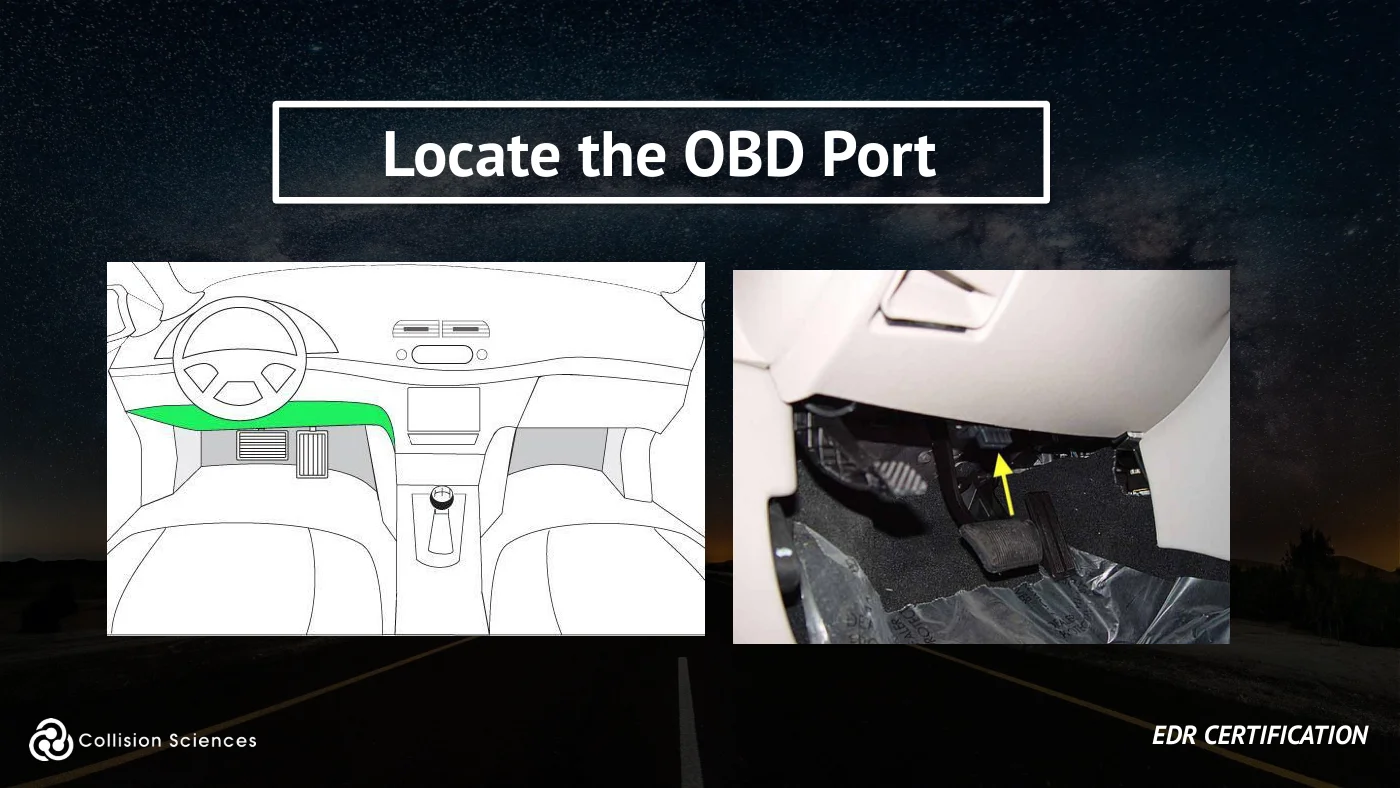
Locate the OBD port
EDR certification
Slide 12Enlarge slide ↗
Read slide 12 text
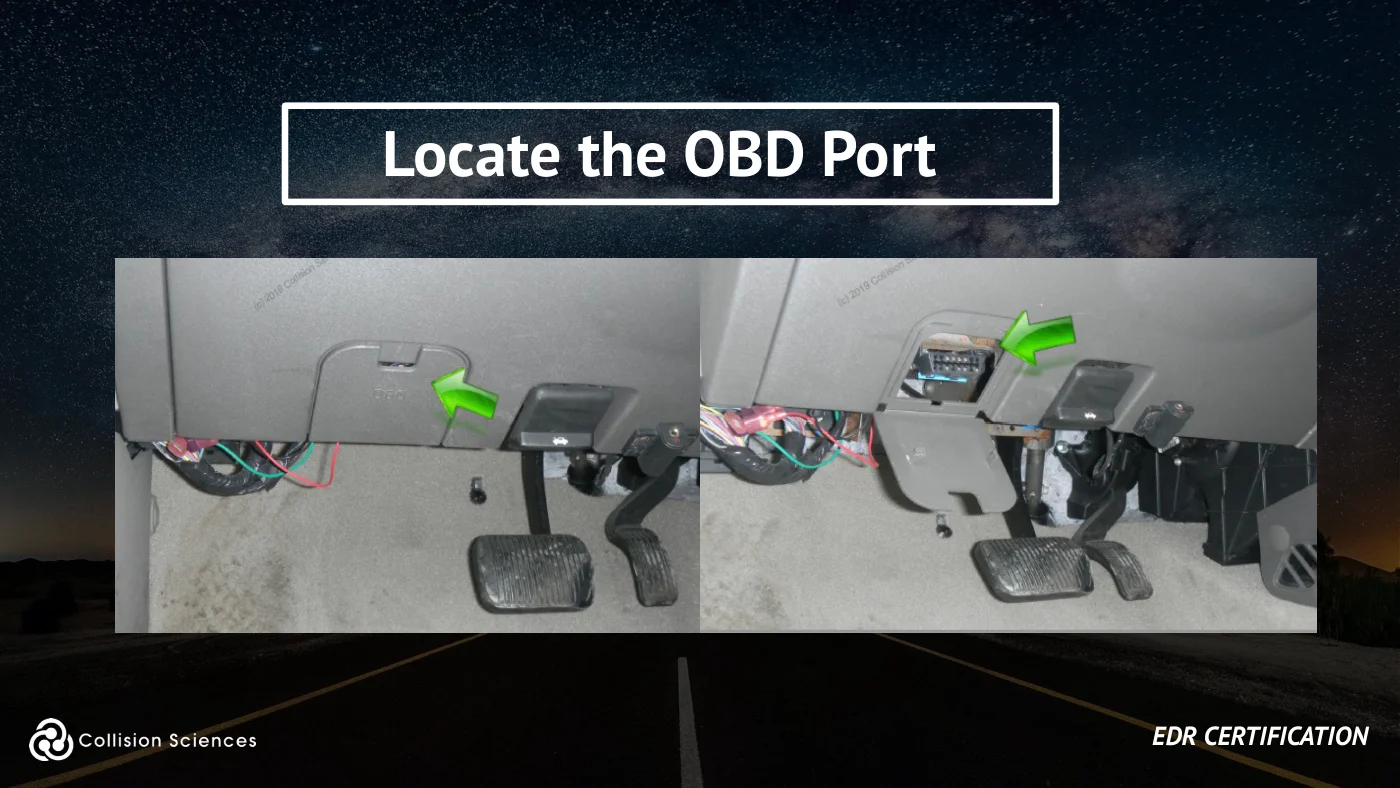
Locate the OBD port
EDR certification
Slide 13Enlarge slide ↗
Read slide 13 text
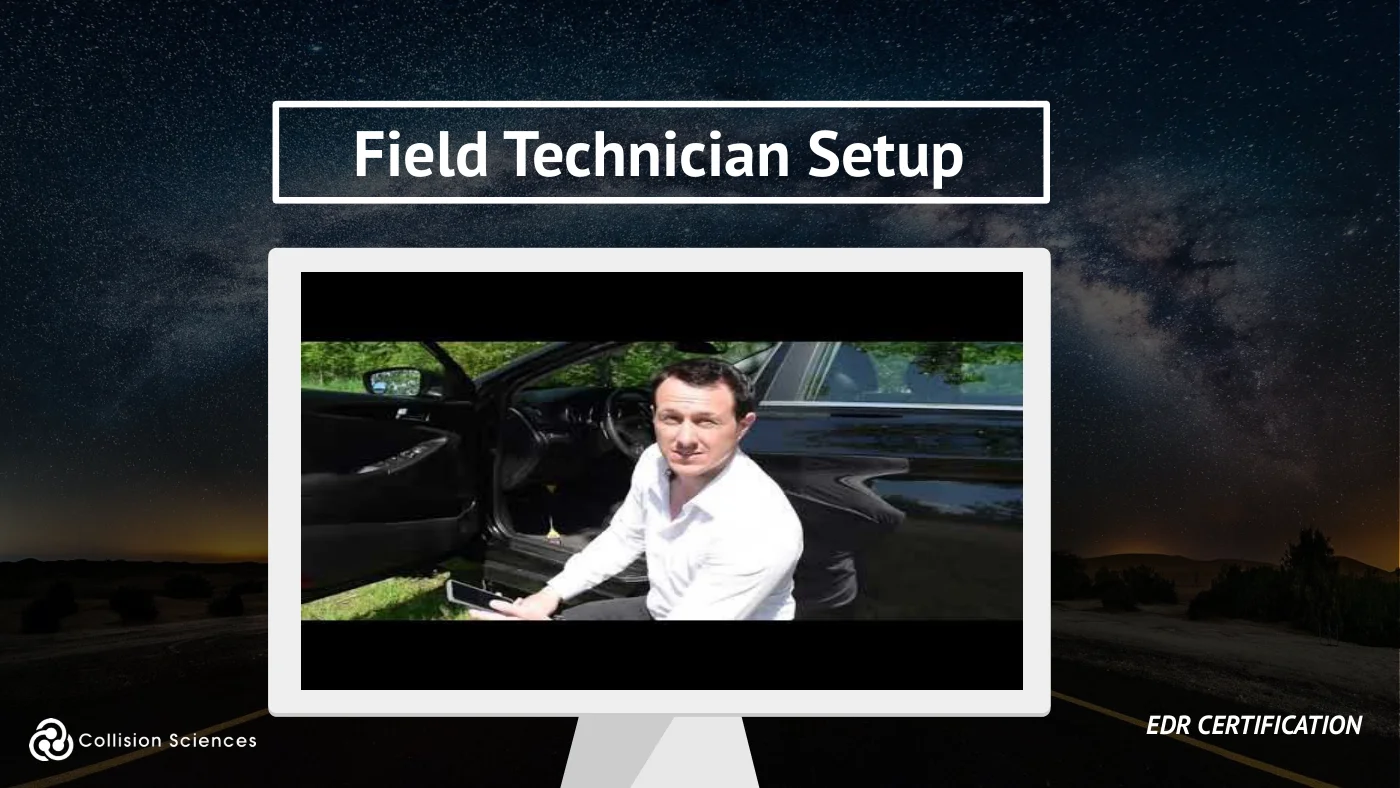
Field technician setup
EDR certification
Slide 14Enlarge slide ↗
Read slide 14 text
Module overview
OVERVIEW
Getting Setup: Software / Hardware ✓
Performing a Vehicle Scan ✓
Troubleshooting ✓
Backup: Module Removal ✓
EDR certification
Slide 15Enlarge slide ↗
Read slide 15 text
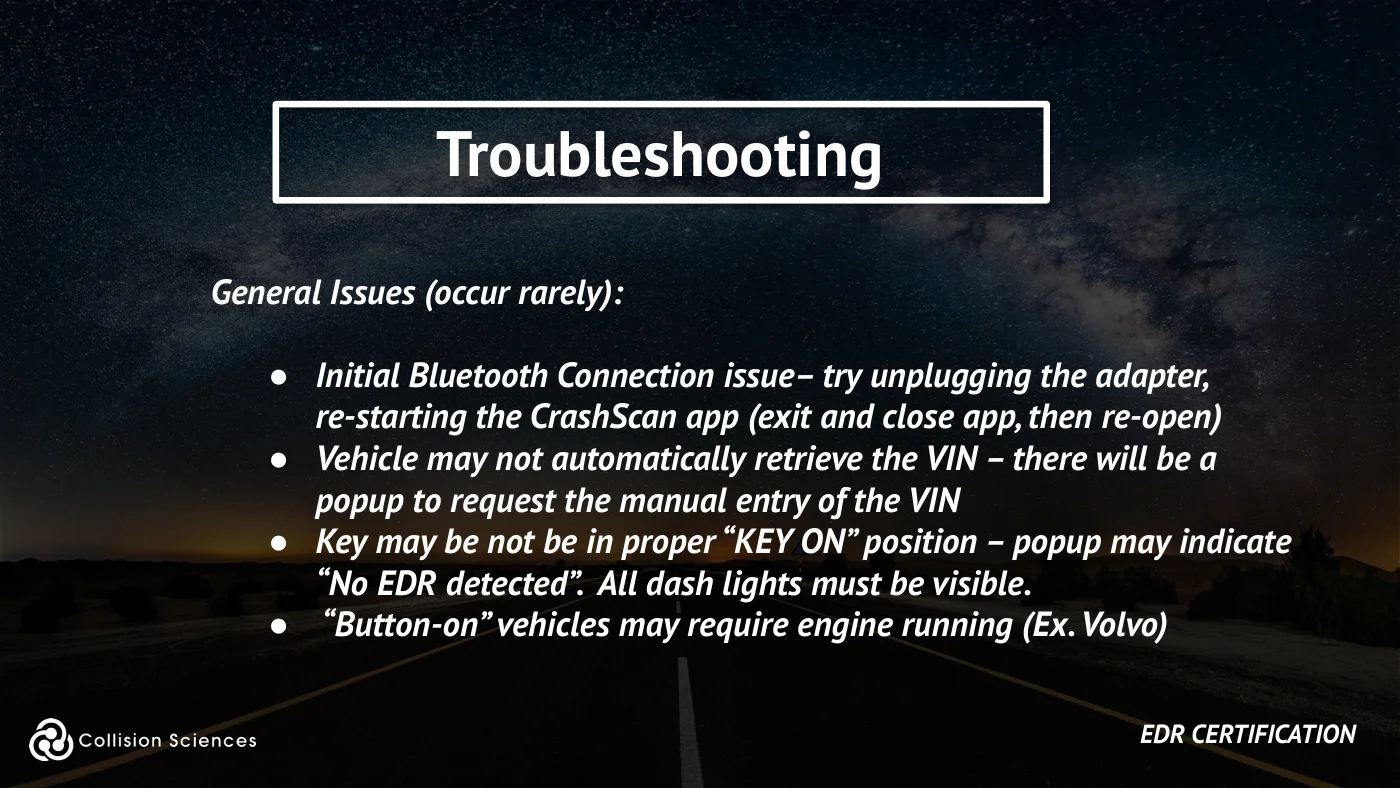
Troubleshooting
General Issues (occur rarely):
●Initial Bluetooth Connection issue– try unplugging the adapter, re-starting the CrashScan app (exit and close app, then re-open) ●Vehicle may not automatically retrieve the VIN – there will be a popup to request the manual entry of the VIN ●Key may be not be in proper “KEY ON” position – popup may indicate “No EDR detected”. All dash lights must be visible. ● “Button-on” vehicles may require engine running (Ex. Volvo)
EDR certification
Slide 16Enlarge slide ↗
Read slide 16 text
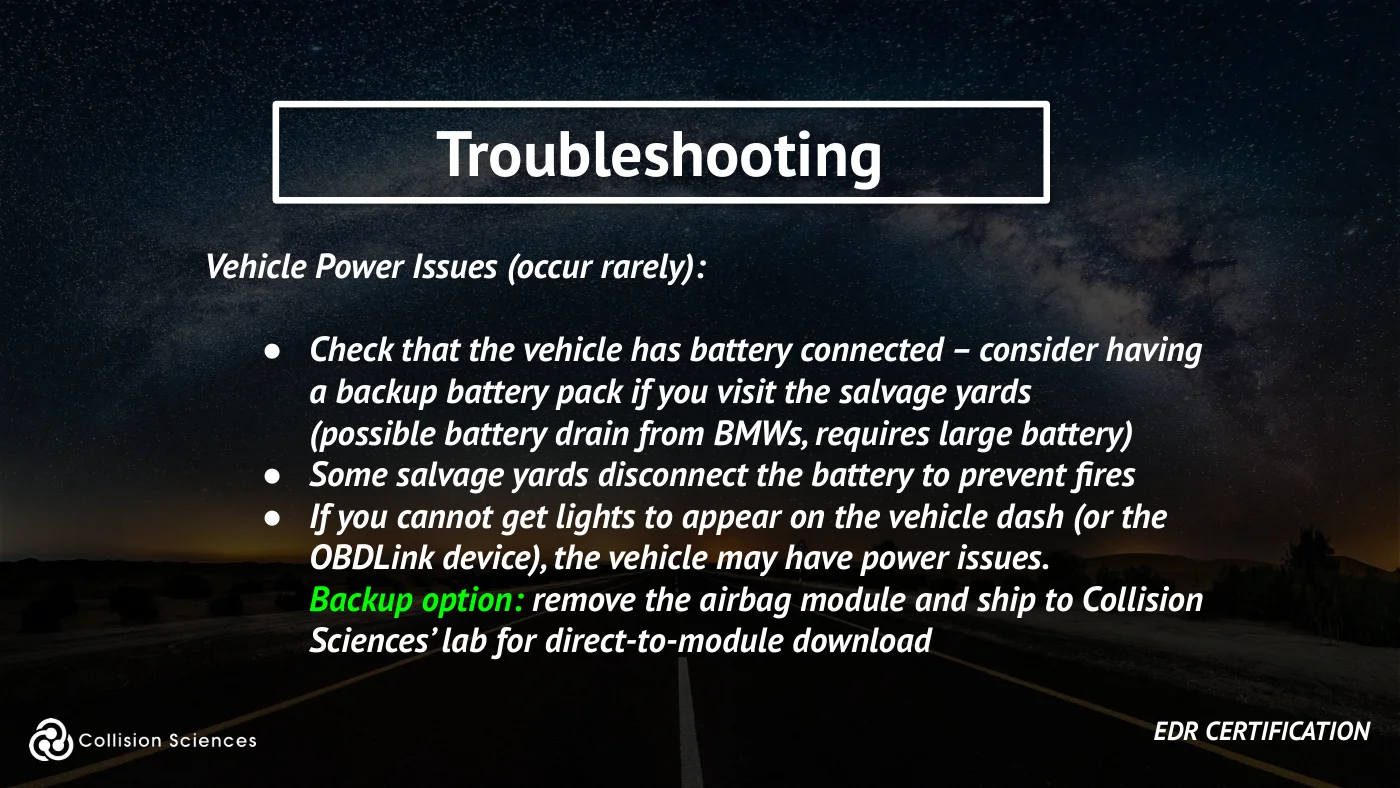
Troubleshooting
Vehicle Power Issues (occur rarely):
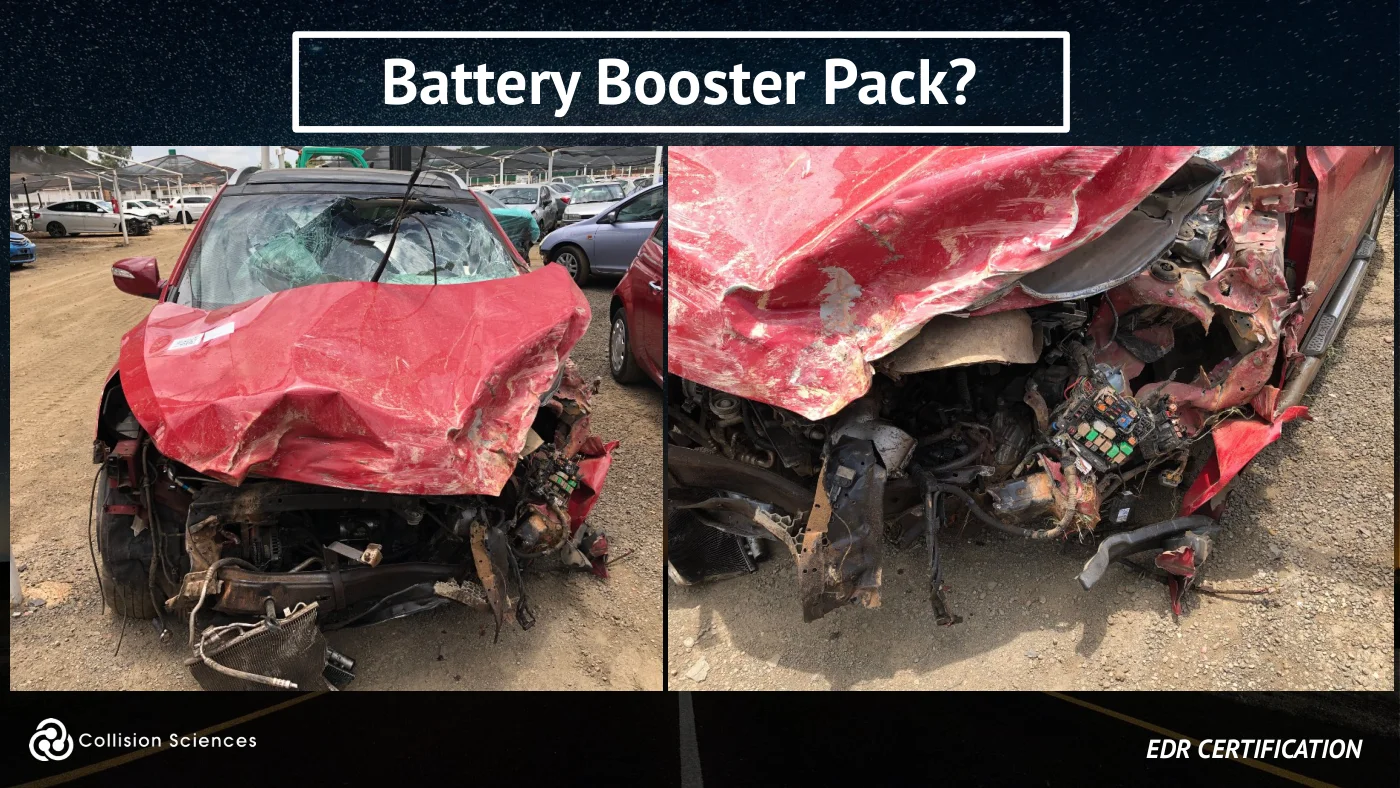
●Check that the vehicle has battery connected – consider having a backup battery pack if you visit the salvage yards (possible battery drain from BMWs, requires large battery) ●Some salvage yards disconnect the battery to prevent fires ●If you cannot get lights to appear on the vehicle dash (or the OBDLink device), the vehicle may have power issues. Backup option: remove the airbag module and ship to Collision Sciences’ lab for direct-to-module download
EDR certification
Slide 17Enlarge slide ↗
Read slide 17 text
Battery booster pack?
EDR certification
Slide 18Enlarge slide ↗
Read slide 18 text
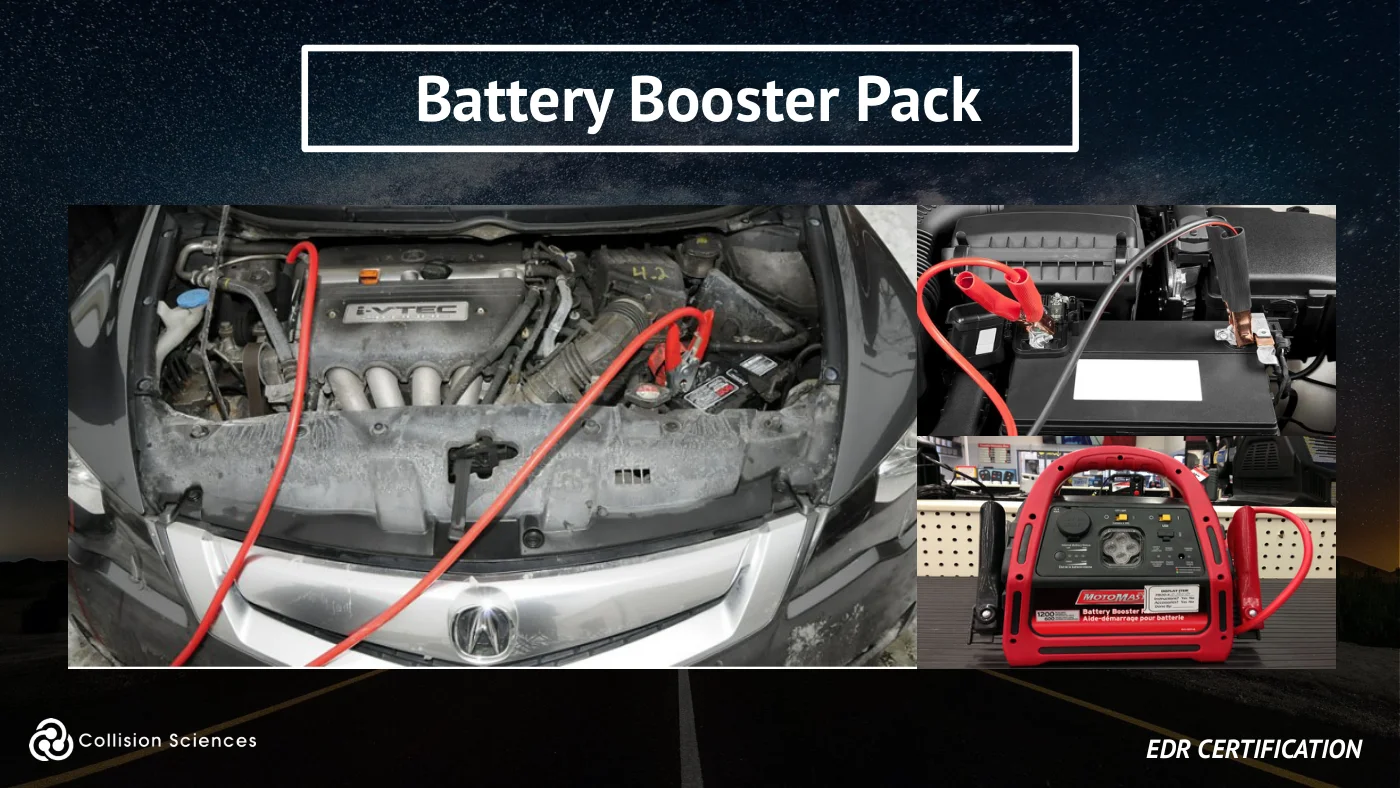
Battery booster pack
EDR certification
Slide 19Enlarge slide ↗
Read slide 19 text
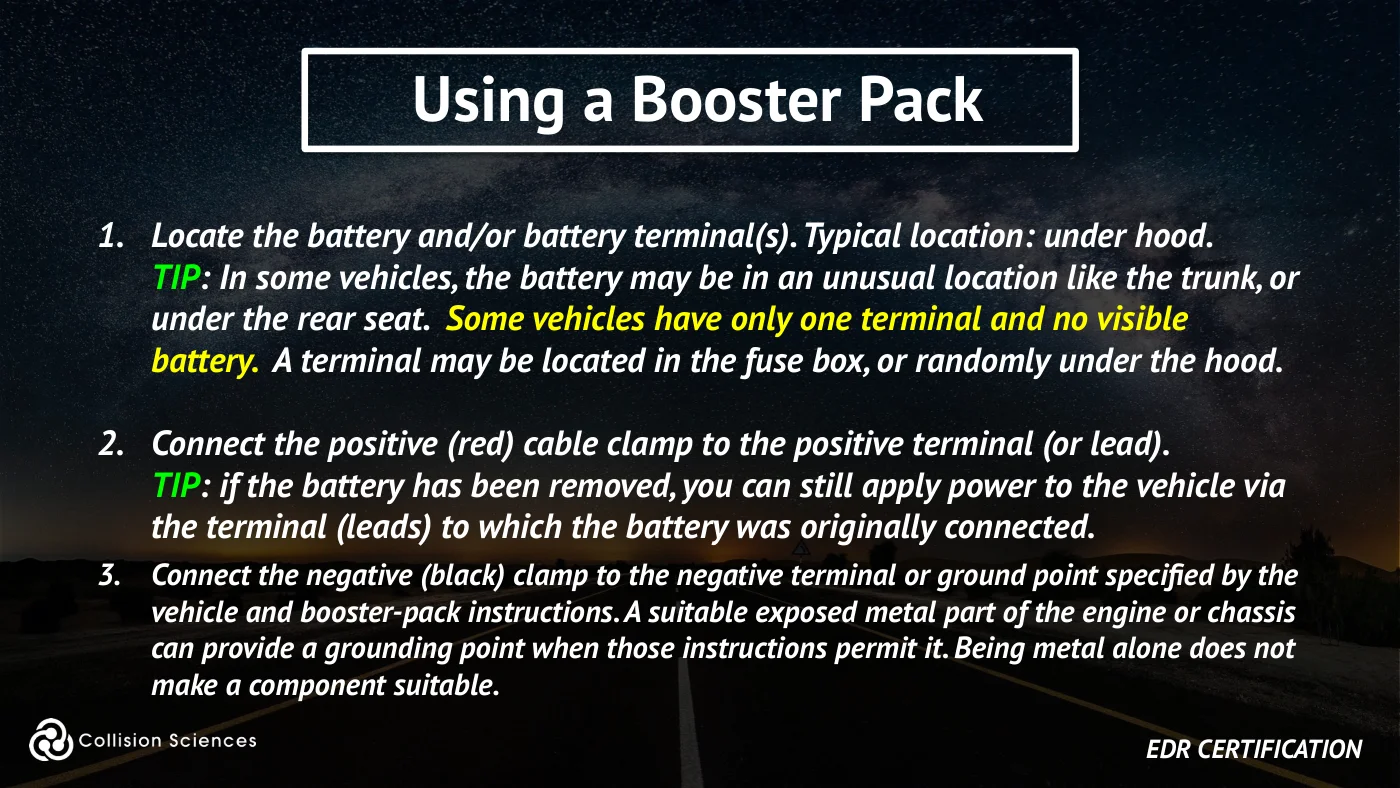
Using a booster pack
1. Locate the battery and/or battery terminal(s). Typical location: under hood. TIP: In some vehicles, the battery may be in an unusual location like the trunk, or under the rear seat. Some vehicles have only one terminal and no visible battery. A terminal may be located in the fuse box, or randomly under the hood.
2. Connect the positive (red) cable clamp to the positive terminal (or lead). TIP: if the battery has been removed, you can still apply power to the vehicle via the terminal (leads) to which the battery was originally connected.
3. Connect the negative (black) clamp to the negative terminal or ground point specified by the vehicle and booster-pack instructions. A suitable exposed metal part of the engine or chassis can provide a grounding point when those instructions permit it. Being metal alone does not make a component suitable.
EDR certification
Slide 20Enlarge slide ↗
Read slide 20 text
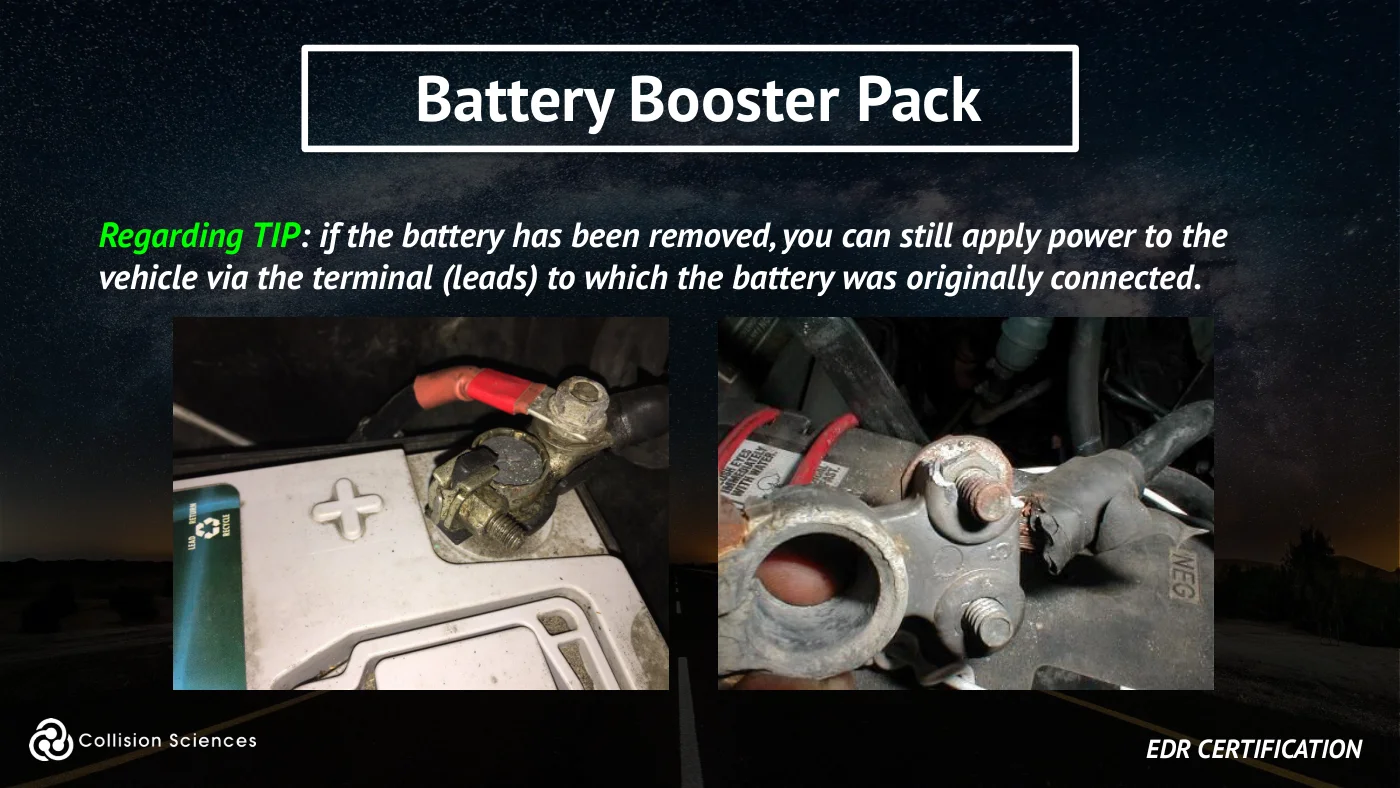
Battery booster pack
Regarding TIP: if the battery has been removed, you can still apply power to the vehicle via the terminal (leads) to which the battery was originally connected.
EDR certification
Slide 21Enlarge slide ↗
Read slide 21 text
Module overview
OVERVIEW
Getting Setup: Software / Hardware ✓
Performing a Vehicle Scan ✓
Troubleshooting ✓
Backup: Module Removal ✓
EDR certification
Slide 22Enlarge slide ↗
Read slide 22 text
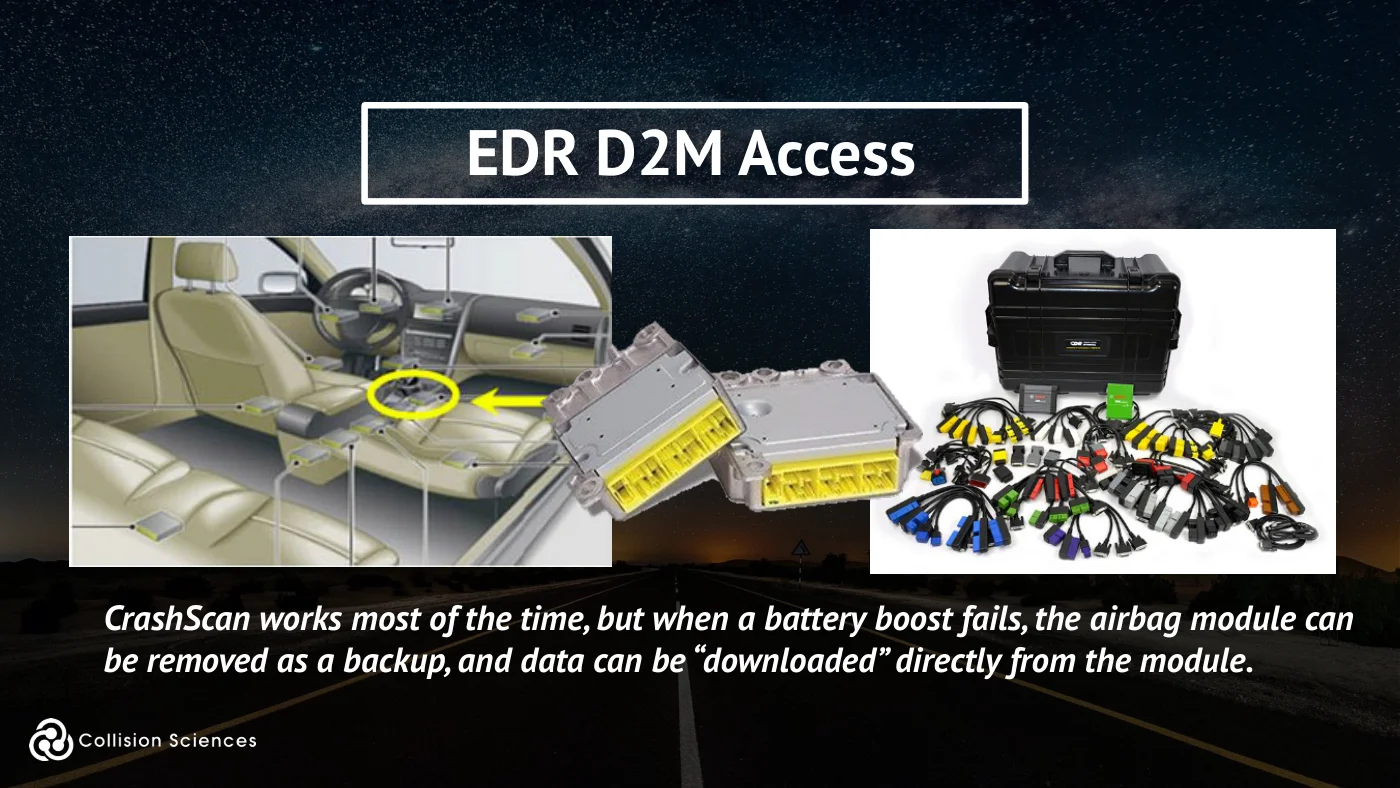
EDR D2M access
CrashScan works most of the time, but when a battery boost fails, the airbag module can be removed as a backup, and data can be “downloaded” directly from the module.
Slide 23Enlarge slide ↗
Read slide 23 text
Airbag removal requirements
TOOLS REQUIRED: In order to remove and preserve an airbag module
●Adjustable Wrench ●Razor Blade (Carpet Cutter) ●Crowbar ●Permanent Marker ●Chain of Custody Tracking Form
EDR certification
Slide 24Enlarge slide ↗
Read slide 24 text
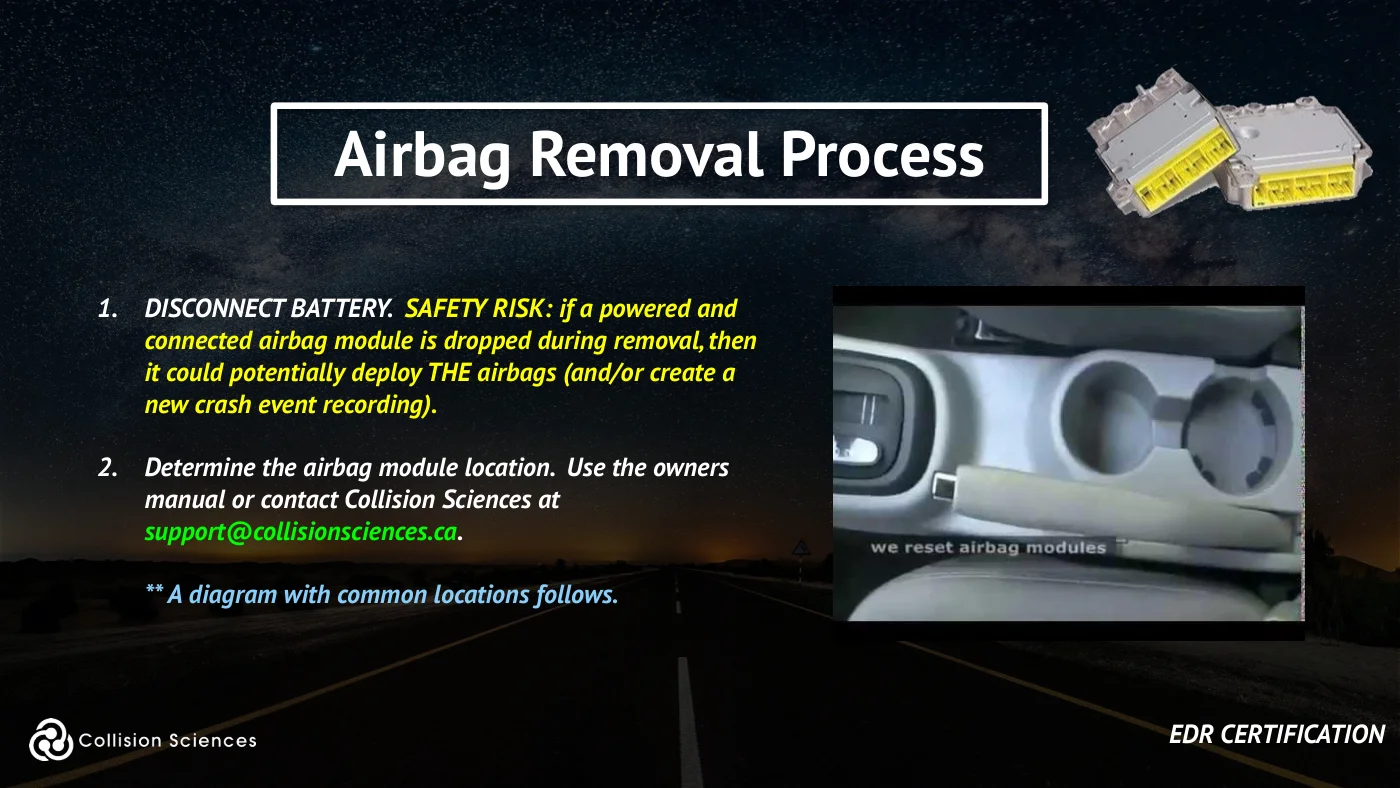
Airbag removal process
1. DISCONNECT BATTERY. SAFETY RISK: if a powered and connected airbag module is dropped during removal, then it could potentially deploy THE airbags (and/or create a new crash event recording).
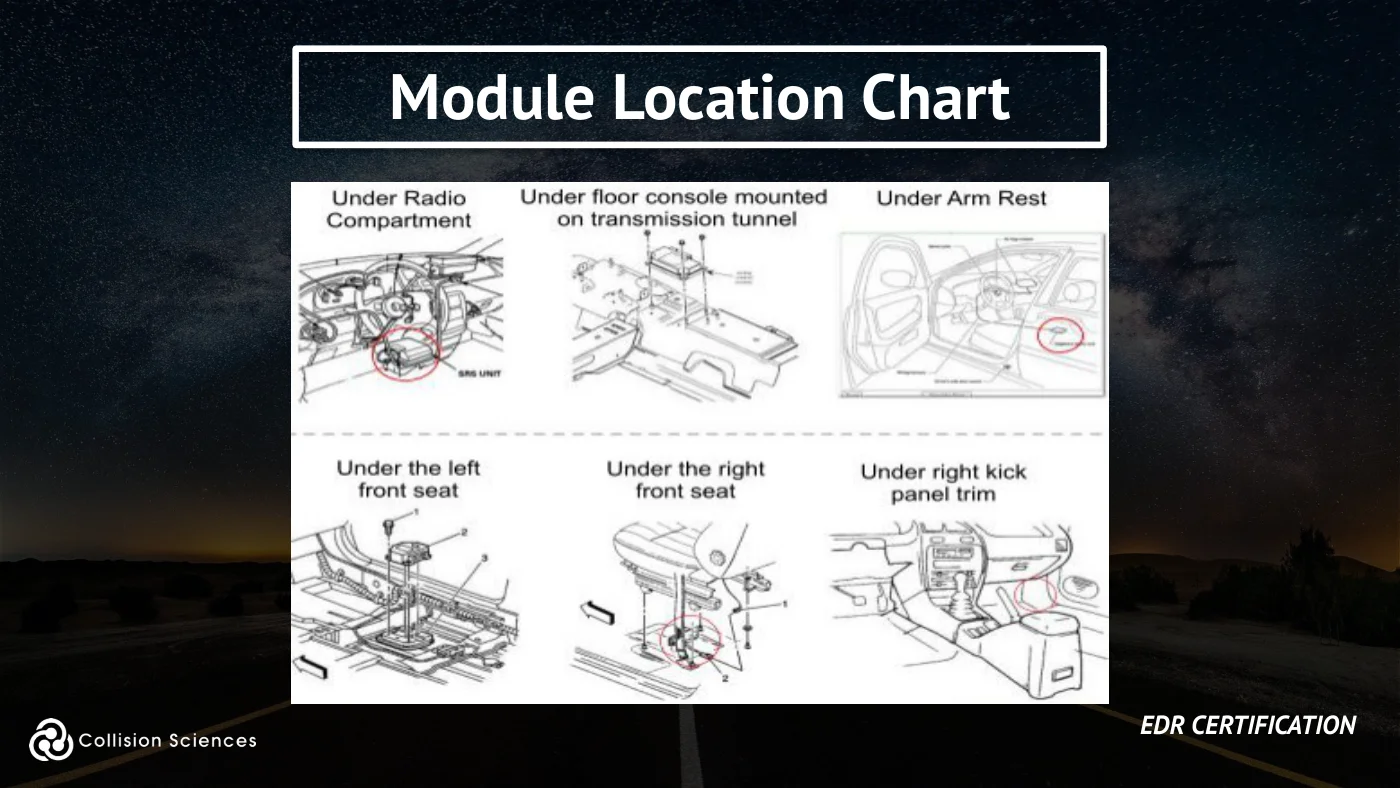
2. Determine the airbag module location. Use the owners manual or contact Collision Sciences at support@collisionsciences.ca.
** A diagram with common locations follows.
EDR certification
Slide 25Enlarge slide ↗
Read slide 25 text
Airbag removal process
Continued:
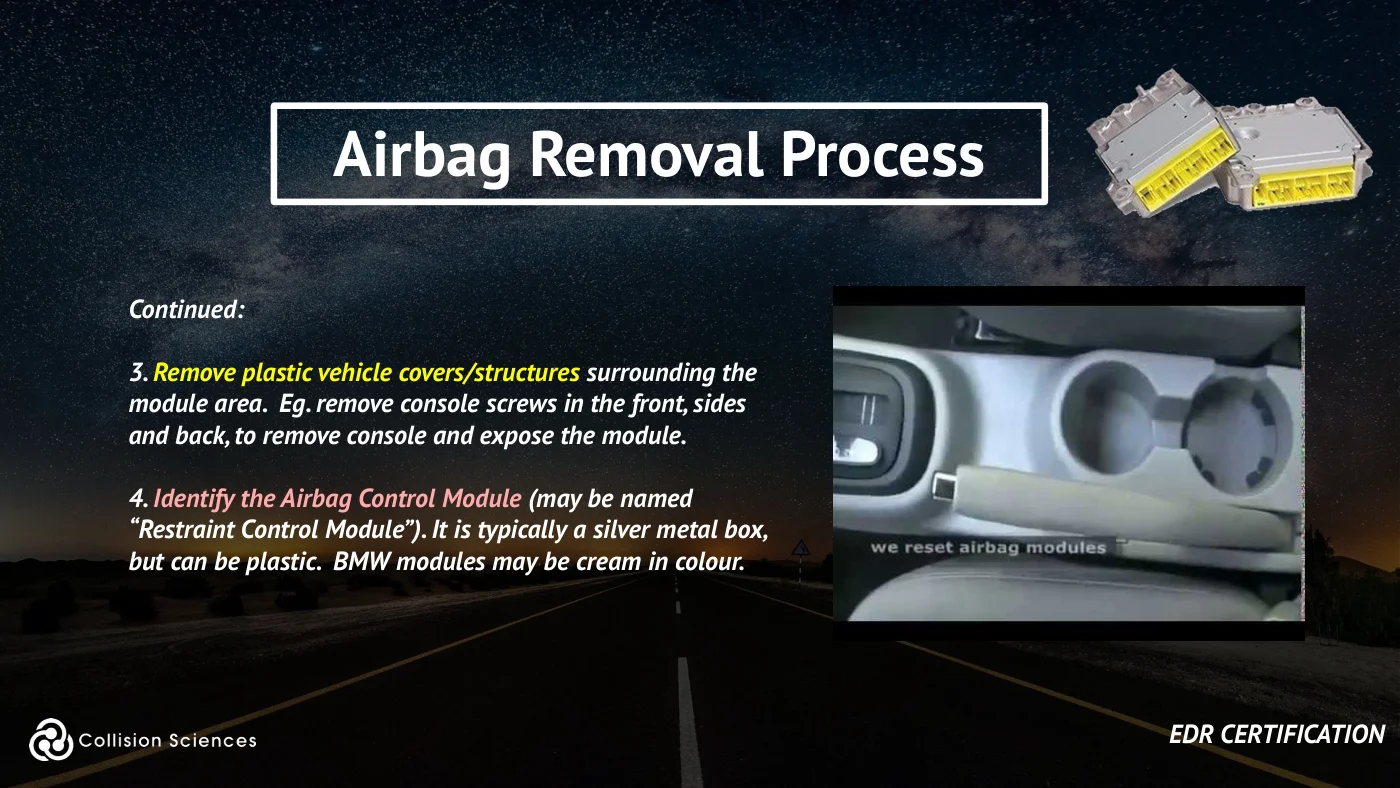
3. Remove plastic vehicle covers/structures surrounding the module area. Eg. remove console screws in the front, sides and back, to remove console and expose the module.
4. Identify the Airbag Control Module (may be named “Restraint Control Module”). It is typically a silver metal box, but can be plastic. BMW modules may be cream in colour.
EDR certification
Slide 26Enlarge slide ↗
Read slide 26 text
Airbag removal process
Continued:
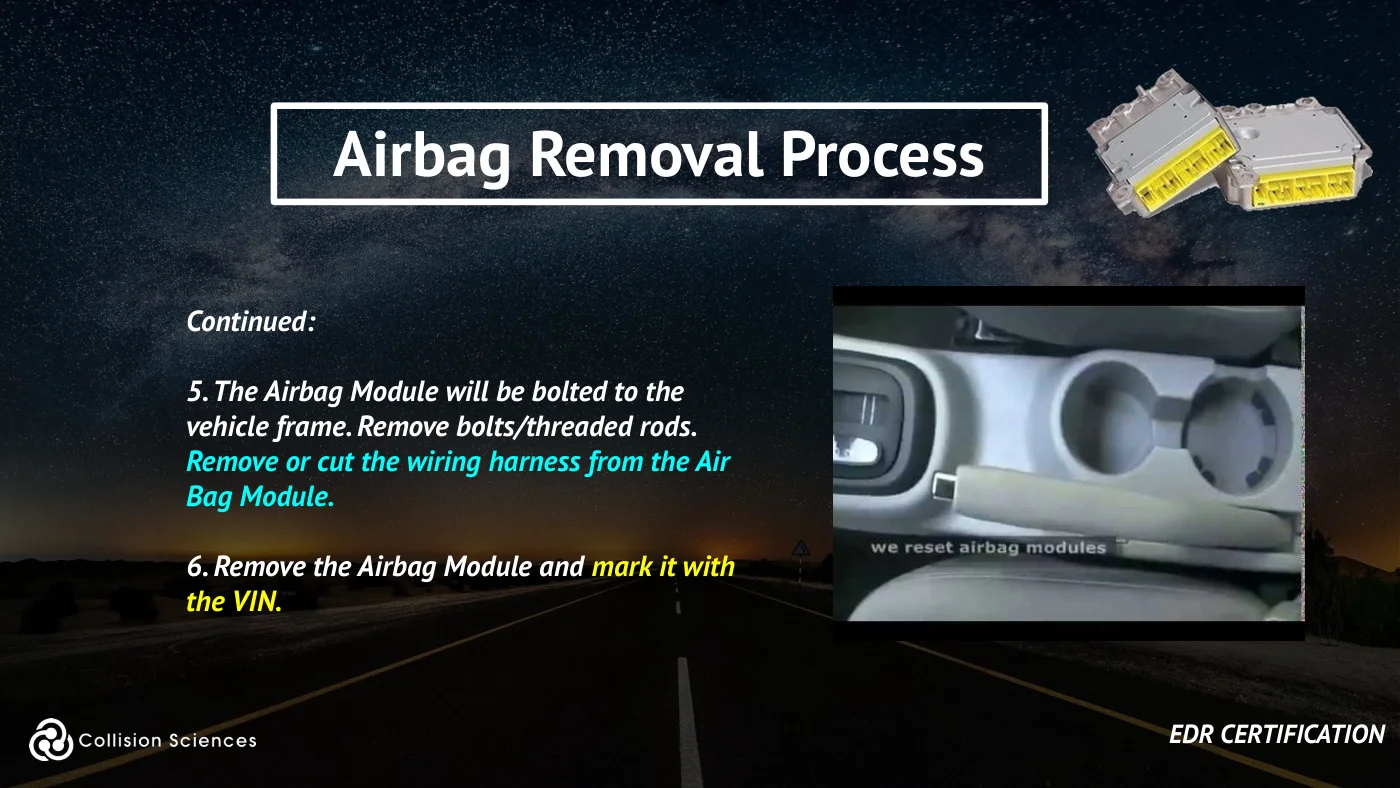
5. The Airbag Module will be bolted to the vehicle frame. Remove bolts/threaded rods. Remove or cut the wiring harness from the Air Bag Module.
6. Remove the Airbag Module and mark it with the VIN.
EDR certification
Slide 27Enlarge slide ↗
Read slide 27 text
Module location chart
EDR certification
Slide 28Enlarge slide ↗

Read slide 28 text
Innovative technology & information intelligence
Questions?
Please email: service@collisionsciences.ca